Buyers Guide to Pool Covers
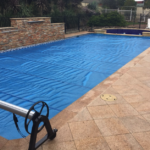
Buyers Guide to buying Pool Covers Choosing the best pool cover for your swimming pool is one of the most important decisions an Australian pool

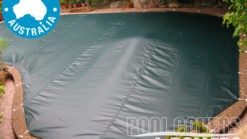

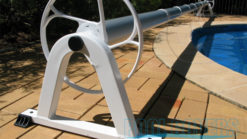

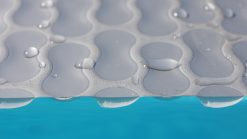
Buyers Guide to buying Pool Covers Choosing the best pool cover for your swimming pool is one of the most important decisions an Australian pool

People always need answers to their pool-heat-pump-related questions, and one of the key questions we get asked is: how does a heat pump pool heater

Once you know the correct pool heat pump size required for your pool, you can confidently buy a unit that ensures you have the perfect

We all love swimming in heated pools, and especially in the colder winter months. So it makes sense to purchase a high-quality, energy efficient heat