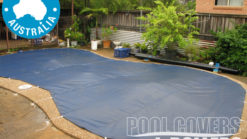
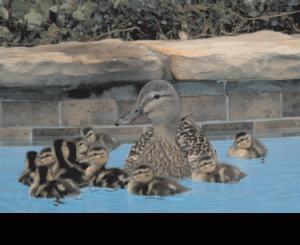
Pool Covers – can they keep Ducks out of your Swimming Pool
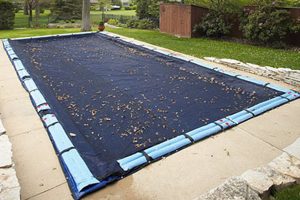
Will a Pool Cover keep Ducks out of your swimming pool? How? What type of pool Cover will keep ducks out of your swimming pool.


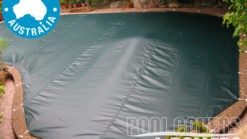
Will a Pool Cover keep Ducks out of your swimming pool? How? What type of pool Cover will keep ducks out of your swimming pool.

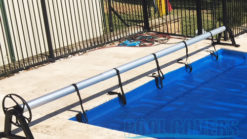
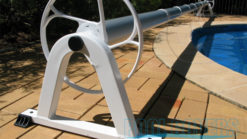
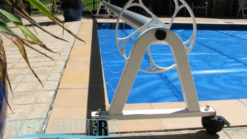
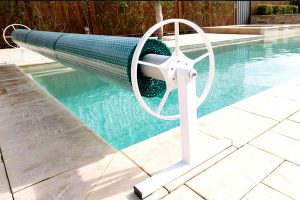
Having made the decision to buy a pool cover, the next question is which type will best suit your pool. The best way to decide
Pool Covers – Are they a good Investment? What are the Benefits of a Pool Cover The decision to buy a swimming pool is taken with
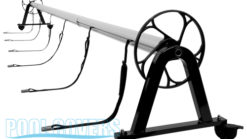
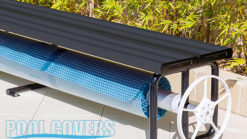
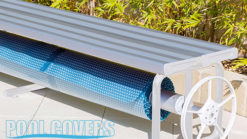
Solar Pool Cover – Tips to get the maximum life out of yours A good quality Australian made Solar Pool Cover, particularly made from Sancell